

A durable asphalt surface is the result of careful work that happens long before the paver arrives. Whether the project is a brand‑new road or a resurfacing job, the steps taken on the existing surface decide how long the new layer will last, how well it will carry traffic, and how much it will cost to maintain. Skipping or rushing preparation is the most common reason a pavement fails early. This guide walks through the seven preparation steps that every professional paving crew should follow.
Inspect the Existing Pavement Condition
A detailed site survey is always the first step. Walk the full length of the project, photograph every trouble spot, and document the existing distresses: alligator cracking, raveling, rutting, bleeding, depressions, and edge failures. Measure crack widths and depths, mark any soft spots, and test deflection with a falling‑weight deflectometer or a simple rod where heavier equipment is not available. Drainage patterns should be reviewed at the same time, because standing water is the single biggest enemy of a new asphalt layer. A clear, written condition report helps the team decide whether simple resurfacing is enough or whether full‑depth reclamation is required.
Remove Debris, Dirt and Surface Contaminants
A clean surface is essential for the new asphalt to bond properly. Use mechanical sweepers, high‑pressure air blowers, or water blasting to remove loose aggregate, dust, mud, leaves, and oil drippings. Oil and fuel stains must be cut out and patched, because they will bleed through the new layer and break the bond with the tack coat. For larger projects, a vacuum sweeper leaves the surface dry and ready for the next step without re‑introducing dust. Any vegetation growing through the pavement should be killed with a targeted herbicide and removed well in advance of the paving day.
Mill or Profile Uneven Areas
Cold milling removes the oxidized, brittle top layer of aged asphalt and brings the surface back to the design elevation. It also restores proper cross‑fall and clears the way for smooth paving. A milling machine set to the design depth grinds off the damaged surface, while a profiler trims high spots and ruts. The milled material is usually hauled off for recycling into the new mix, which is both economical and environmentally responsible. On resurfacing jobs, milling is also what creates a clean, textured face for the tack coat to grip, so the new layer bonds tightly to the old one.
Repair Cracks, Potholes, and Soft Spots
Any defect left in the old surface will reflect up through the new asphalt within months. Hairline cracks wider than about three millimetres should be routed and sealed with hot‑pour crack sealant, while working cracks need a backer rod plus a flexible sealant that can move with the pavement. Potholes are squared up, cleaned, tack‑coated, then filled with hot or cold patch mix and compacted in lifts. Soft or debonded areas should be removed and replaced down to sound material. Doing this work now, while the surface is still exposed, is far cheaper than cutting out failed patches after the new asphalt has been laid.
Stabilize and Compact the Base Layer
The base is what actually carries the load. Any area that shows pumping, rutting, or visible deflection under traffic is a sign of base failure. Those spots are excavated, the sub‑base is reworked, and new aggregate is added, graded, and compacted to specification. A smooth, well‑compacted base prevents differential settlement and gives the new asphalt uniform support. On widening or shoulder work, the interface between old and new base should be benched rather than feathered, so the two layers lock together instead of peeling apart under traffic.
Apply Tack Coat or Prime Coat
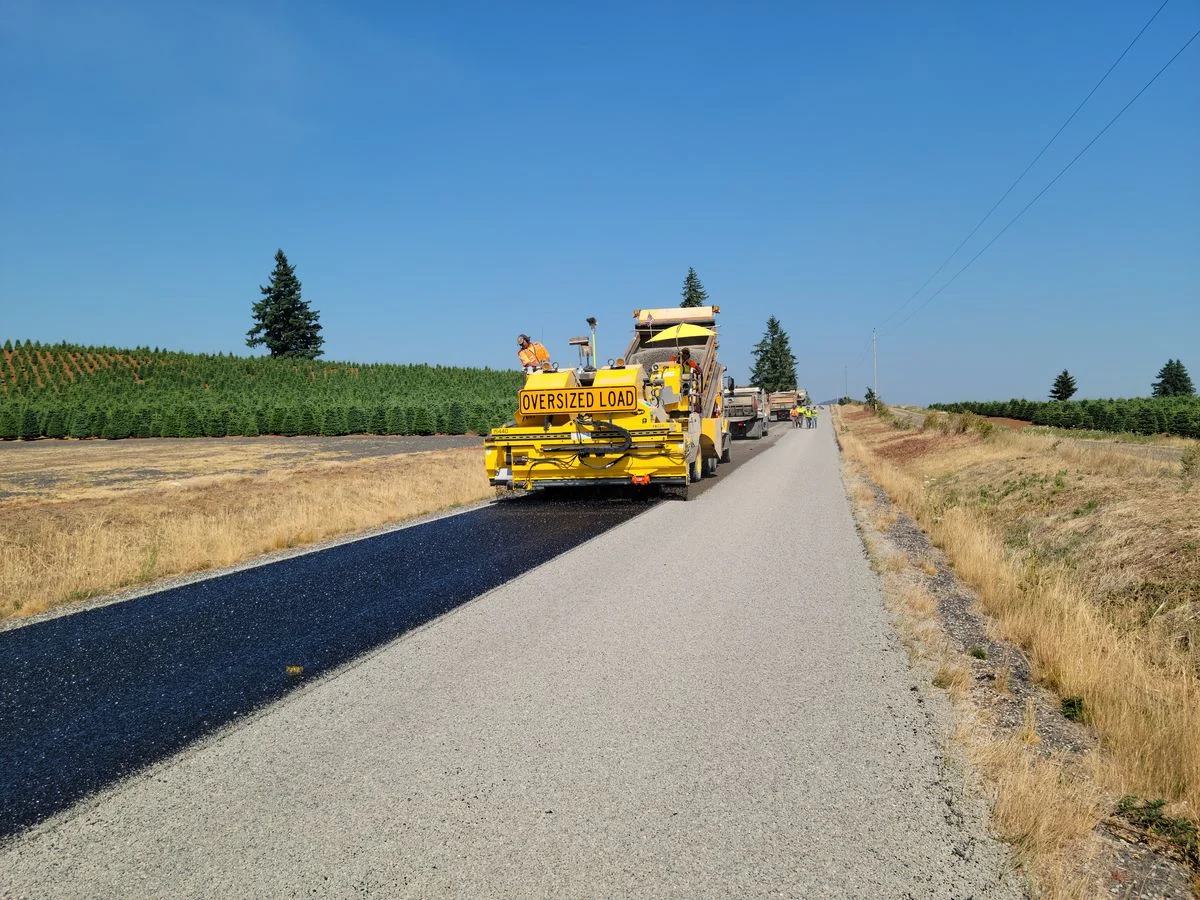
A tack coat is a thin, uniform spray of asphalt emulsion that glues the new asphalt layer to the prepared surface below. A prime coat does the same job on a granular base, sealing the surface and providing a bond for the first lift. Both products must be applied at the correct rate — typically 0.15 to 0.30 litres per square metre for a tack coat — and allowed to break, turning from brown to black and becoming tacky, before the paver arrives. Any puddles, dry streaks, or oversprayed areas are signs of incorrect application and should be corrected before paving begins.
Verify Weather, Drainage, and Traffic Control
Paving needs a dry pavement, an air temperature above about ten degrees Celsius, and a wind‑sheltered surface. Rain on a fresh tack coat or on hot mix will ruin the bond. Drainage inlets must be raised or protected, and any manholes, valves, and curb edges need to be set to the final grade and masked so the new mat can pass over them cleanly. A traffic management plan, including flaggers, detour signs, and barricades, should already be in place so the crew can work without interruption from passing vehicles.
Final Check Before the Paver Arrives
On the day of paving, walk the surface one more time. Check that all repairs have cured, that the tack coat has broken uniformly, that ironwork is at grade, and that no standing water remains. With a clean, sound, well‑bonded surface ready to go, the paver can lay a smooth, durable mat — and the road will give many years of service with minimal maintenance.
Get the Right Equipment for the Job
At IKOM we know that preparation makes or breaks a paving job. That is why our lineup — from hot asphalt recyclers and crack sealing machines to compact milling attachments and pavement maintenance equipment — is engineered to handle every step on this checklist. Talk to our team about the right machine package for your next project, and explore the full IKOM range to see how we support crews around the world.